

How to Create Flat Lay Photos – 10 Tips
I have found myself capturing flat lays for clients more often, so today I want to share what I’ve learned in the process. A flat lay photo is a quick and easy way to capture interesting items that you own. They are quite simple to create and can be shot pretty much anywhere. They are shot from above, looking down, with the items spread out on a flat surface.
Flat lays come in handy for blog or social media content and can also be helpful to just convey a mood or a message with a photo. The cool thing is that, you definitely don’t need a pro DSLR camera to create a flat lay.
I create them professionally to tell a story for my commercial clients using different items. I have also created flat lays during weddings with details that are important to the bride and groom. Although flat lays can be captured professionally, you can also create them with your phone – you just need the right lighting! So don’t be discouraged, use what you’ve got! I hope these 10 tips help you create flat lays with confidence!
 Pick a Theme
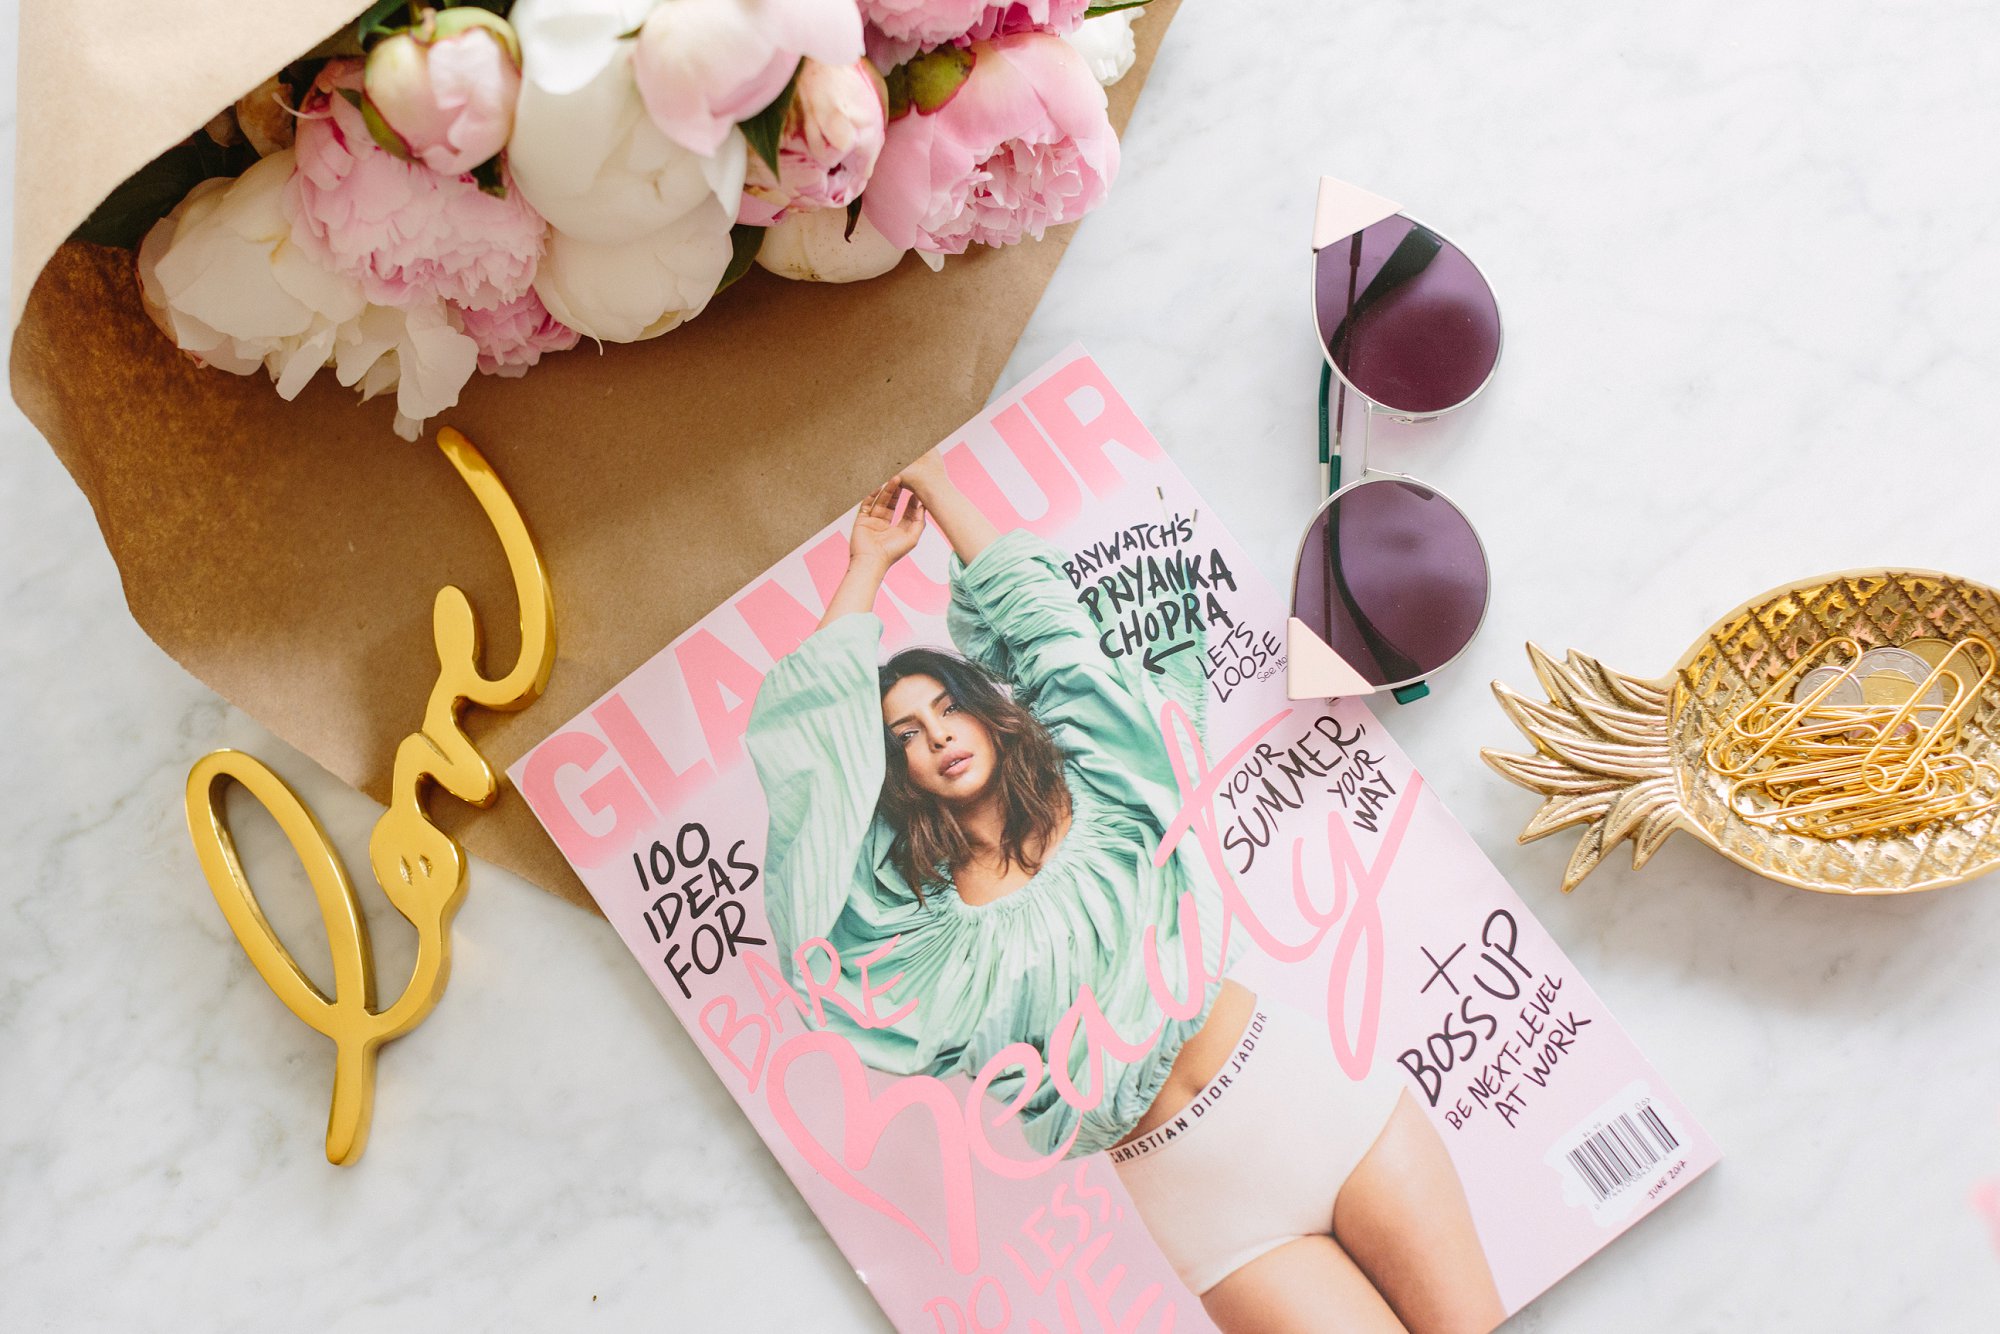
The best place to start is with a consistent theme or idea. Sometimes that focuses on a particular item or color. I want things in the image to convey a certain feeling. So I usually shoot my flat lays with the intention of creating something feminine or masculine, dark or light, simple or more detailed. By making these choices early on, you’ll be able to build an image that is consistent and able to make the point of the image very clear. From there you can choose any theme, it can be fitness, travel, beauty, food, career, or anything you can imagine!
If I was shooting something for a beauty brand, let’s say a woman’s face wash product for example. I’d consider creating a flat lay that is bright with items like flower petals and a towel. The most important part is having a theme to get your creativity flowing.

Choose a Background
I like to choose a background based on the theme. The background can be as simple as a foam board – they only cost a dollar! I like using white foam boards, because white reflects natural light really well. There are so many colors that may fit your theme better, but I like to use foam boards because they are so inexpensive and easy to transport.
The background can also be a bed sheet, table, or the floor. Since flat lays are taken from above with the camera pointing down, you can really use any flat surface.
 Find the Best Light
I’m a huge fan of natural light because I believe it’s great for flat lay beginners. Just about everyone has windows and doors in their home so natural light is for everyone, when used correctly.
One issue with it though is the fact that natural light isn’t always available. A friend of mine who owns her own cake and desserts company has mentioned that she isn’t able to take advantage of natural light because she bakes at night when her baby goes to sleep. In that case, you’ll definitely need to get some umbrella lights. I have used them and they are very inexpensive and easy to use. Amazon sells a great set that you can get here.
The biggest thing is you want to try and avoid having harsh shadows appearing around your items. Even light and soft light is considered the best light. You’ll need to use the foam boards as a reflector to manipulate the window light. And the umbrella light, is softer because the umbrella is a diffuser to help keep the light as soft as possible.
Use Simple Props
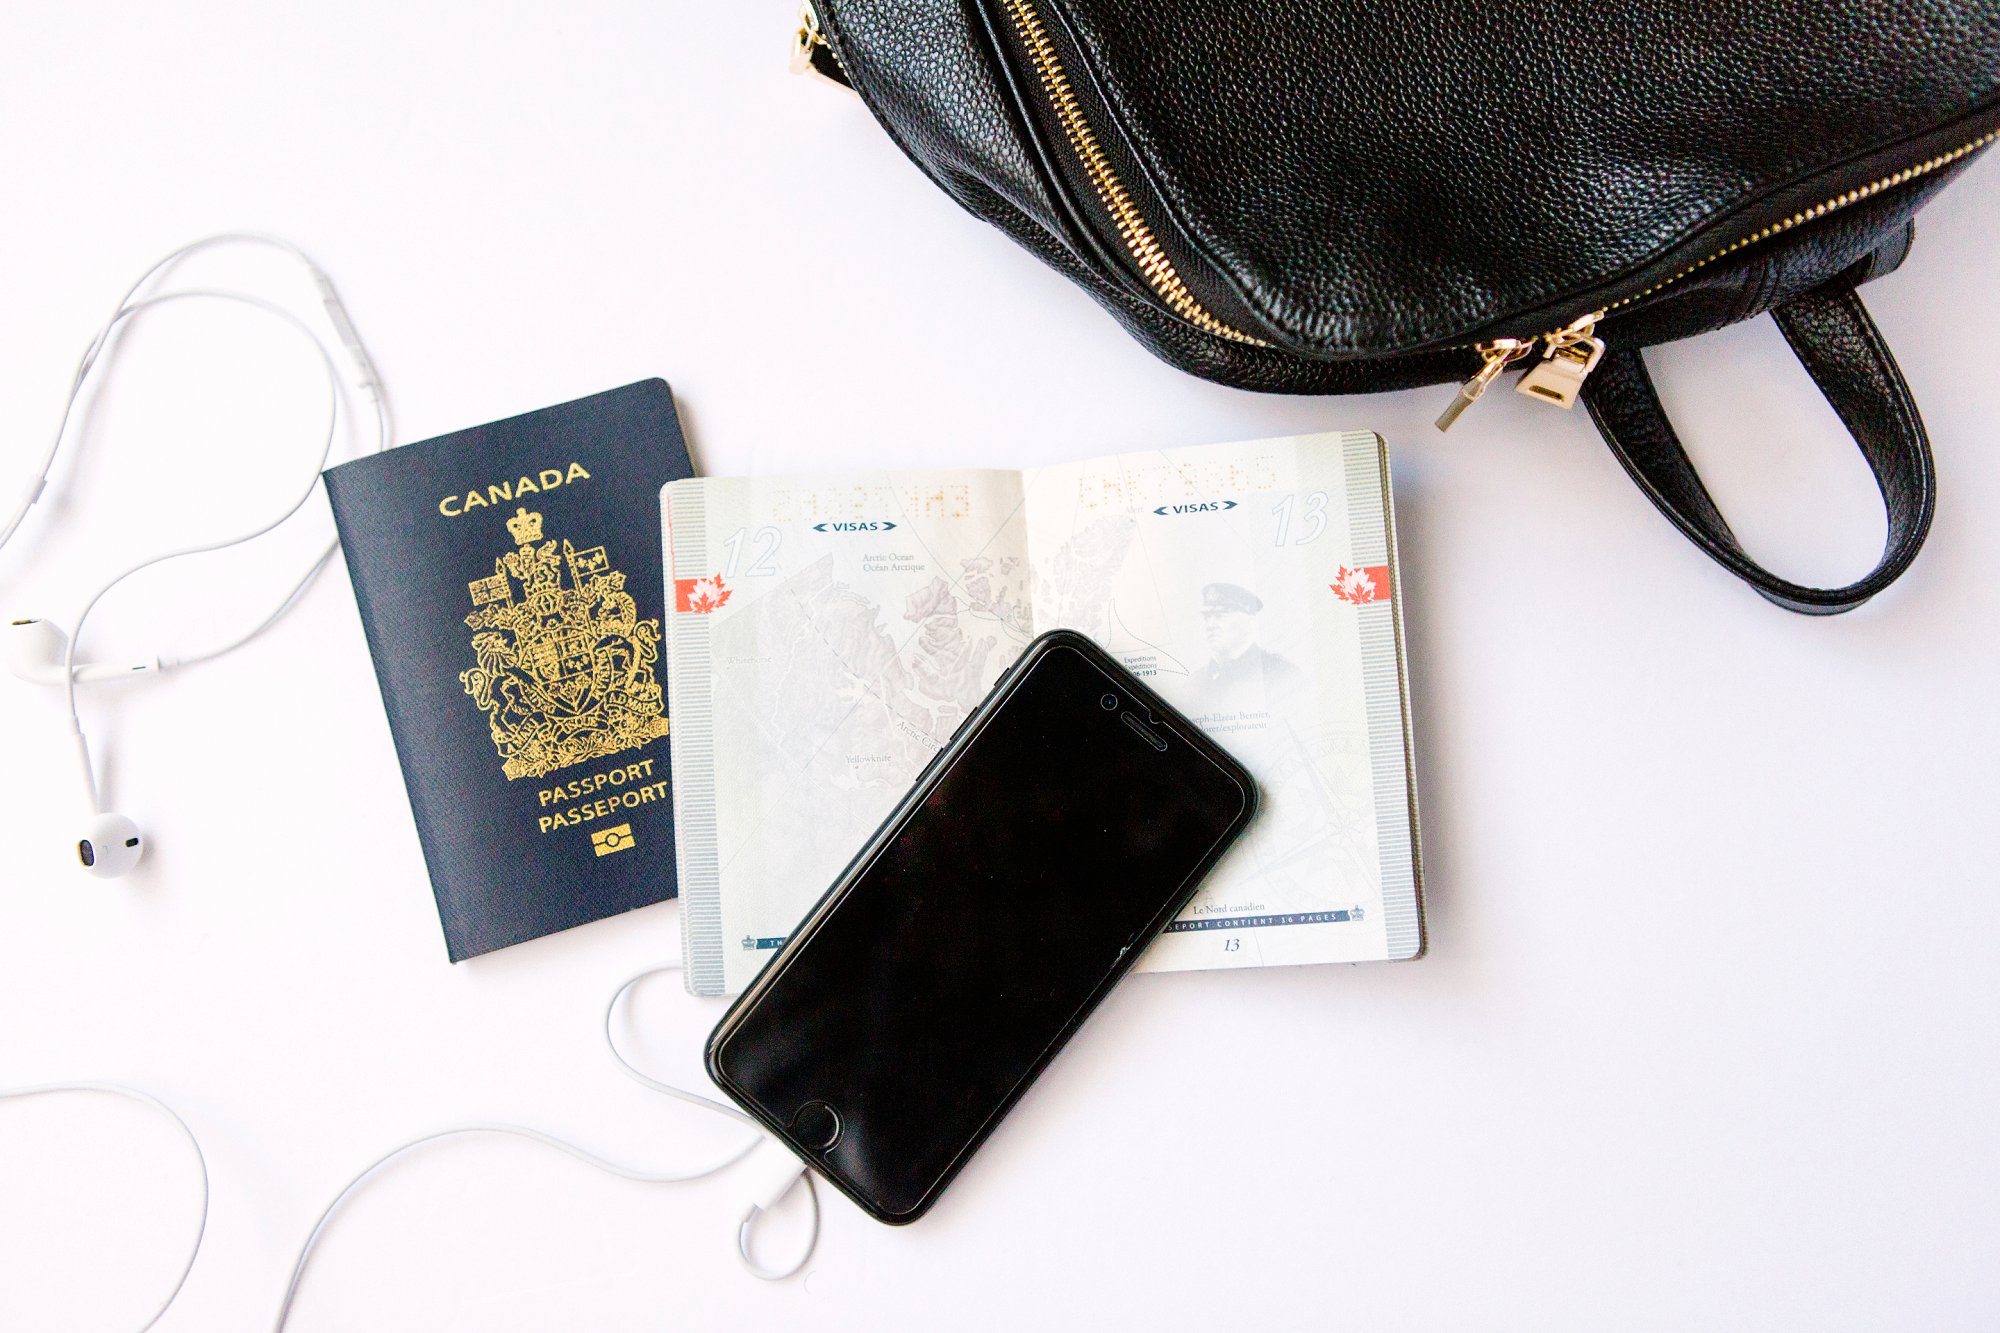
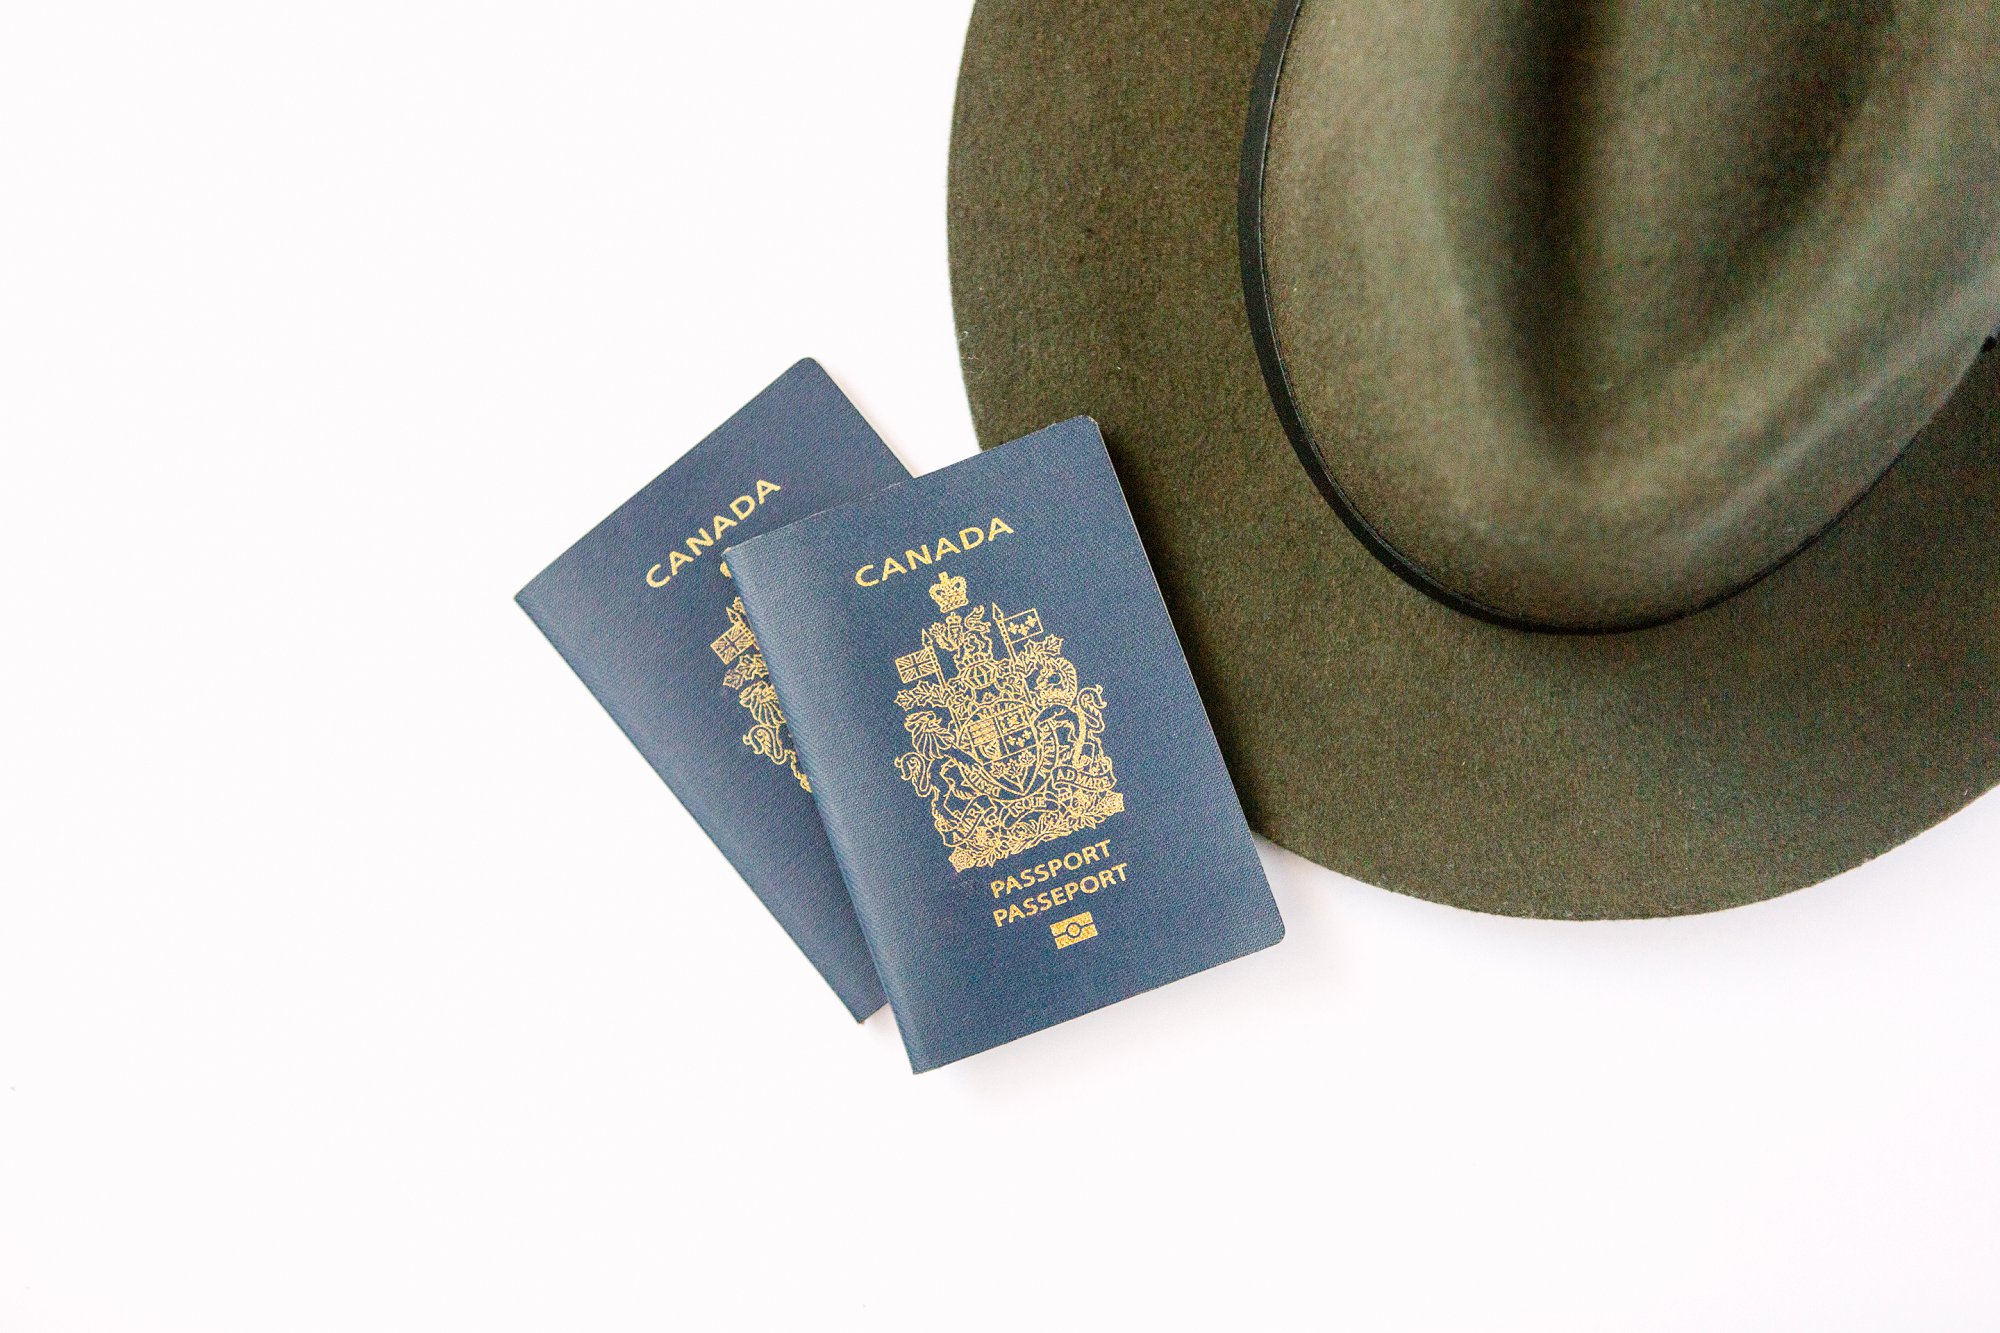
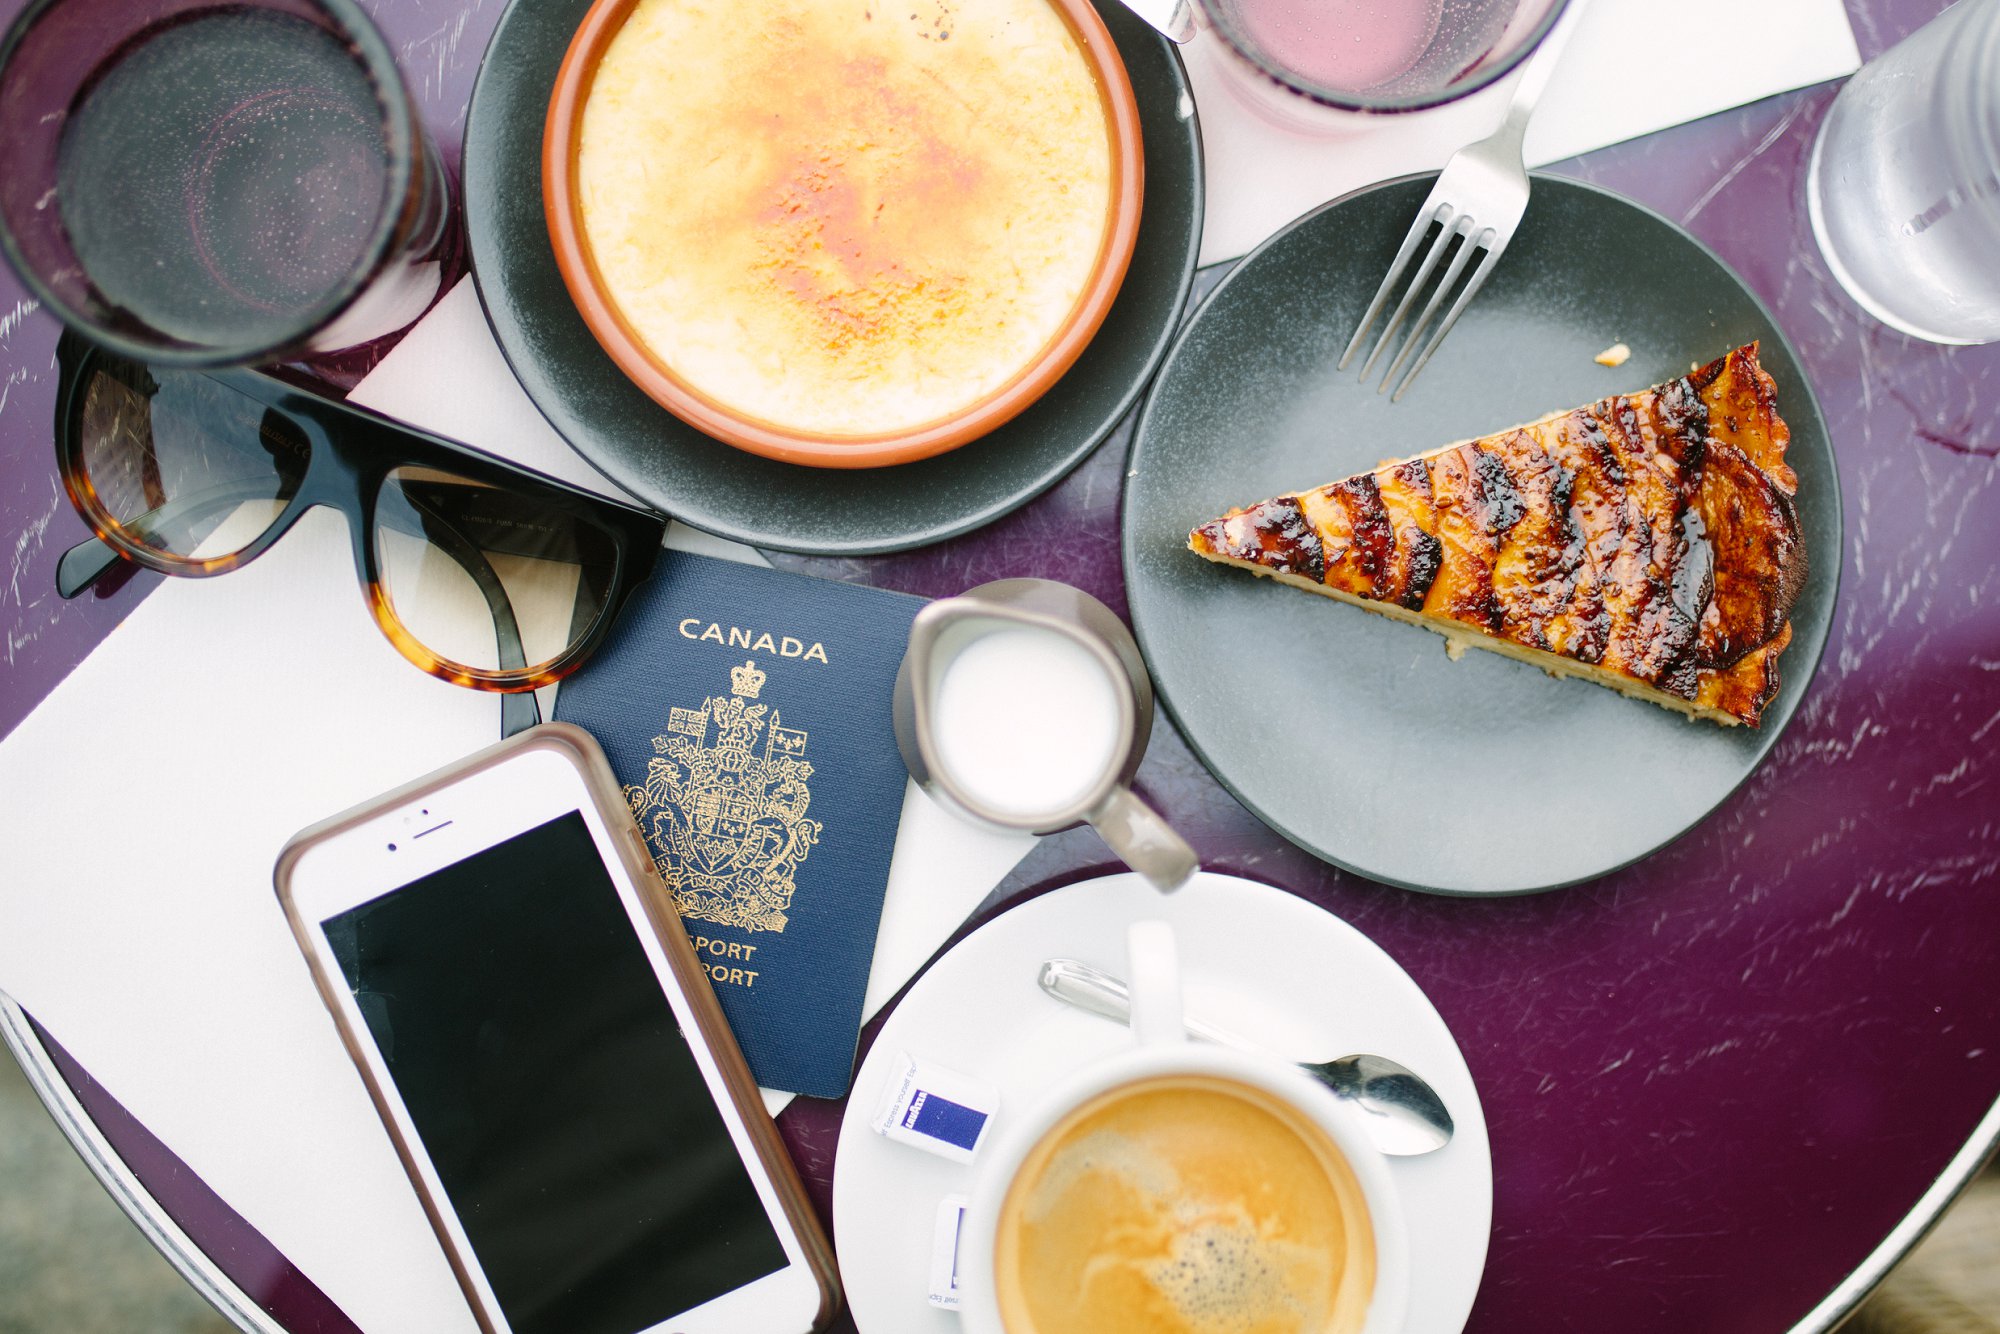
I’m a fan of simple flat lays using simple props and details. So for a travel theme, I’m using passports and my favorite hat on a white foam board. For me a simple flat lay is easy and the message is very clear.
It’s a great place to start, but I encourage you to try it out and see what works best for you. If you feel like you need more details to convey your message than be sure to mix it up in terms of the size and colors of the different objects. Create your own personality and voice to make it more interesting. Sometimes less is more and empty space isn’t such a bad thing.
If you’re unsure what to use for your flat lay image, I’d say look around your home. You may have items that fit a theme without even realizing it. Using what you’ve got forces you to be creative and allows you to practice your skills.
I used my laptop and my coffee mug and iPhone. A simple flat lay that explains that it’s time to get down to work. You can also create flat lays at restaurants, even though you may be starving, you can create a flat lay with your meals for practice too!
 Use a High Aperture
If you are shooting in manual mode on your DSLR camera, I recommend using a higher aperture, something like 3.5. This ensure that most of the items in the picture are in focus. A flat lay is not the type of image that you want to have out of focus, but if you feel like breaking the rules, it is okay to center your theme around one particular object and then use things around it to fill in the space.
 The Rule of Thirds is Your Friend
Without getting too technical with this photography rule. I have to share that the “rule of thirds” can be helpful when you’re creating a flat lay image. If you are shooting with your iPhone, I also believe that rules are meant to be broken, so be sure to use your discretion. If you divide an image into thirds both horizontally and vertically, you’ll have 9 equal parts. The rule suggests that images are more interesting and well composed if the point of interest in a photo appear in the intersections of those thirds on a photo.

Don’t Forget to Edit
I’m a huge fan of creating my images as close to perfect so that there isn’t much editing to do afterwards! But we still have to edit them so I suggest downloading the VSCO app or using Lightroom, like I do. I use these to add some brightness and to decrease shadows and increase highlights. If you use a filter, don’t use it on 100% to keep the photo as natural and timeless as possible.
 Capture Flat lays on the Go
Sometimes you’re on the go, and you don’t have time to create the perfect flat lay. You can still create a beautiful image by just pointing your camera down at your feet, your desk, or your dinner table. I’ve seen people do this on the go at the gym, in the office, or at the beach. I love these because it’s true to life!
Practice, Practice, Practice
Like anything if you don’t practice you won’t master the skill. If you take the time to try out a flat lay, they become less of a thing you have to think about. You’ll be able to create them and share them easily so that people can see what you’re up to and be compelled by the story of your photos on your blog or social media pages.
I hope these 10 tips on how to create a flat lay image helps take some interesting flat lays of your own! Now get out there and try these out for yourself! For more photography tips, click here to subscribe to my newsletter. Here I share more in depth photography tips, videos on photography, and even some behind the scenes on my latest shoots!
~Sam
Photography by: Samantha Clarke Photography
Client: Coco and Cowe


