Tips for Natural Light Photography
April 2, 2018
A lot of you ask me for camera recommendations and I have shared them on the blog in this post. But there’s so much more to photography than just your gear. You have to know how to find the light!
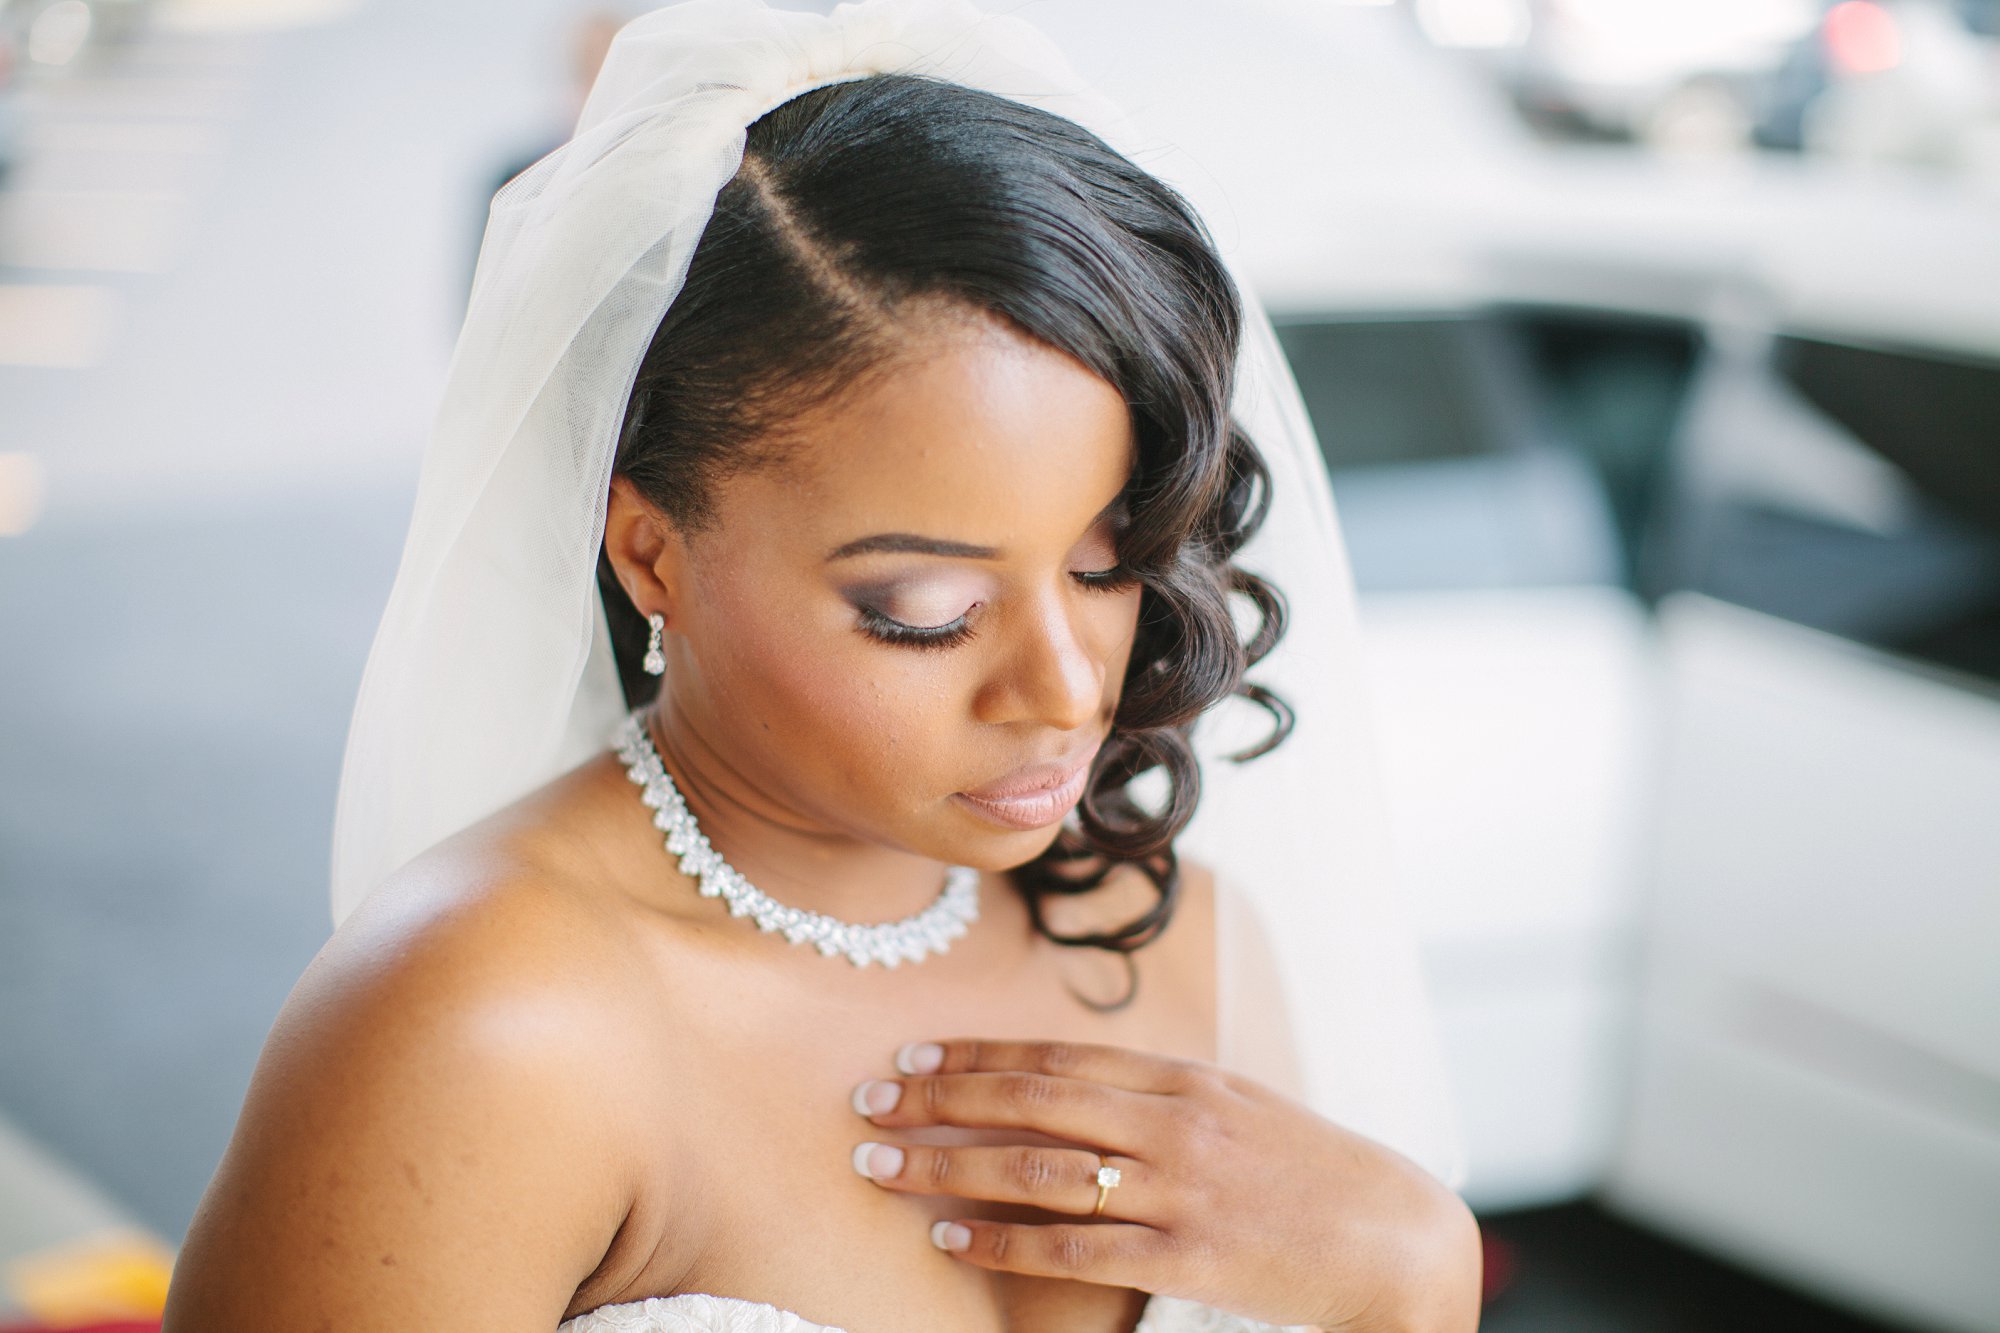
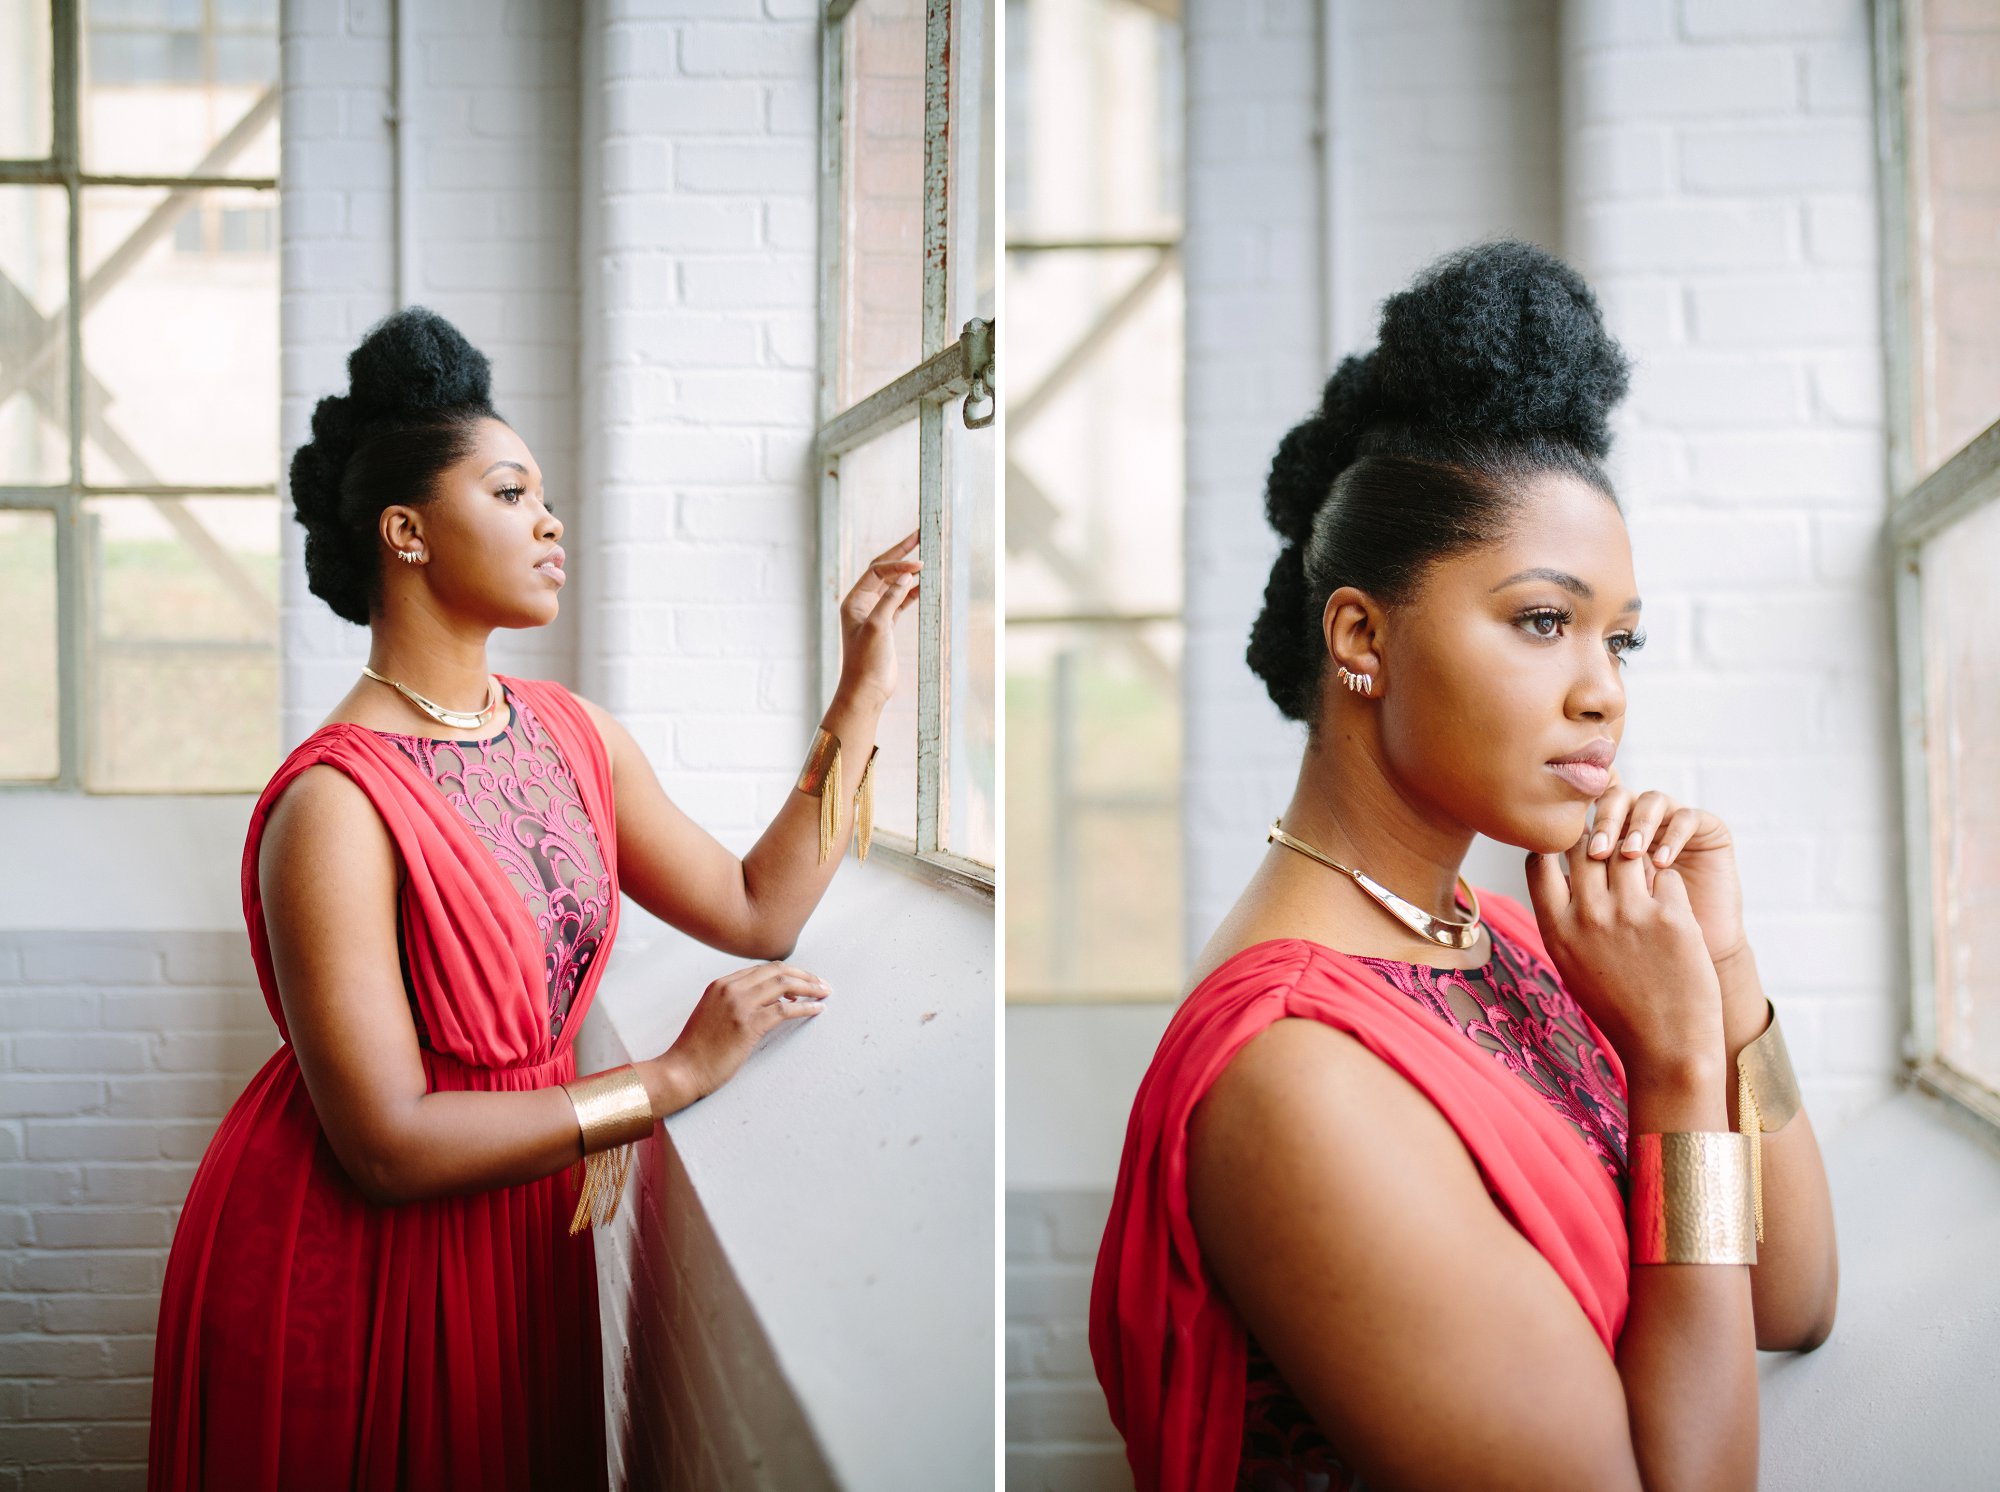
When I think about taking a shot, I always think first about where the best light is. With natural light photography, there’s a constant need to be aware of your surroundings to see where the light is coming from. Most often I’m on the lookout for windows, doors, shaded areas, and reflectors. My equipment is useless without great light and so I’m always on the hunt for it and then positioning my subject to make sure they look their best.
This info is for everyone from beginners to pros! I believe anyone can learn how to master light. The best part is you don’t need a fancy camera, you can utilize your phone or any other camera to create great images. But first let’s discuss what good light is.

What is good light?
When I talk about good light, I’m referring to the kind of light that is soft and spread out evenly.
Golden Hour Light
This type of light is usually what you’ll see on an overcast day. Or around golden hour which is right before sunset and just after the sun rises in the morning.
Harsh Midday Light
As the day progresses, the light from the sun tends to become more and more harsh.
The worst light tends to be around midday when the sun is directly overhead. But even at those times, you can still find good light. Usually in shaded areas, where the light can be bounced off of different surfaces like the ground or walls. On sunny days in the afternoon, you’ll find that harsh light causes shadows underneath people’s noses, eyes and chins. It’s really not flattering.
Good light is the opposite and provides even light on your subject’s face.

Finding good light indoors
If you are shooting indoors you can still utilize natural light.
Window light
When inside, if you’re unable to get the best light, I suggest heading close to a window and positioning your subject in a way that allows them to be well lit. That means they may need to stand next to or right in front of a window or door. The bigger the window, the more light there is available. My favorite scenario is if there are large windows all around.
If the light coming in from the window is harsh light from the sun, than it’s best to have a transparent white curtain over the window to help with spreading the light more evenly. The curtain will help to diffuse the light to make it softer.
Turn off the lights
When you’re inside, it’s best to use one source of light. That means, turn off any other lights in the room to avoid a mixture of light. Most light bulbs tend to be yellow tungsten light, which is not flattering to a subject. I prefer the natural light from a window any day.

Creating great light with reflectors
If you’re inside or outside, reflectors can be used to help with creating a better lighting situation.
Types of Reflectors
Sometimes, reflectors are handheld or are found naturally in the environment that you’re in. The handheld reflectors come in all sizes and really help with creating more even light. There are also inexpensive ways to reflect light using a white foam board from any office supply or dollar store. These are affordable DIY options that I use all the time.
Natural Reflectors
Natural reflectors can be found outside as well. White walls, white clothing, or event light grey colored pavement can reflect the light back on a subject. If you place the sun behind your subject and then have a natural reflector in front of them, you’ll most likely see a huge difference in the type of light you get on them. It’s a great trick that I use when I’m out on location at a wedding, with very few lighting options.
~
I hope this post gives you some insight into finding and using natural light in your surroundings. With lots of practice, you’ll start to see that the best quality images can be created with just about any camera. I believe once you create the best lighting situation, you’ll begin to see a huge difference in your photography!
Sam
Leave a Reply Cancel reply
Copyright © Samantha Clarke Photography All Rights Reserved
At the beginning, I was still puzzled. Since I read your article, I have been very impressed. It has provided a lot of innovative ideas for my thesis related to gate.io. Thank u. But I still have some doubts, can you help me? Thanks.
Después de apagar la mayoría de los teléfonos móviles, se eliminará la restricción de ingreso de contraseña incorrecta. En este momento, podrá ingresar al sistema mediante huella digital, reconocimiento facial, etc.